mainファイルを作成してだけだと流石に動かないような?と思って調べてみたところ、nimbleを活用して生成することができることがわかったのでメモとして残します
とりあえず、nimble initして指示に従って入力してプロジェクトを作成します
% nimble init
      Info: Package initialisation requires info which could not be inferred.
        ... Default values are shown in square brackets, press
        ... enter to use them.
      Using "nim" for new package name
      Using masahirookubo for new package author
      Using "src" for new package source directory
    Prompt: Package type?
        ... Library - provides functionality for other packages.
        ... Binary  - produces an executable for the end-user.
        ... Hybrid  - combination of library and binary
        ... For more information see https://goo.gl/cm2RX5
     Select Cycle with 'Tab', 'Enter' when done
    Answer: binary
    Prompt: Initial version of package? [0.1.0]
    Answer:
    Prompt: Package description? [A new awesome nimble package]
    Answer:
    Prompt: Package License?
        ... This should ideally be a valid SPDX identifier. See https://spdx.org/licenses/.
     Select Cycle with 'Tab', 'Enter' when done
    Answer: MIT
    Prompt: Lowest supported Nim version? [1.6.4]
    Answer:
   Success: Package nim created successfully
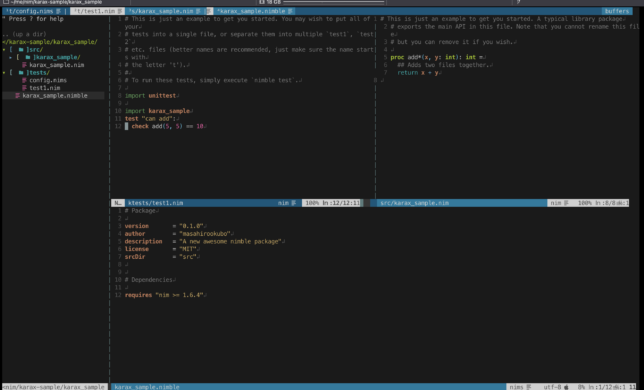
作成完了すると、テストファイルなども生成されてます

ちなみにですが、nimble initせずにnim製のSPAフレームワークkaraxを使ったときは補完がうまくいかなかったので、nimble initすることでrootとして設定する、とかもやっているかもです

コメントを残す