友人がプログラミングの勉強も兼ねてブログを作りたいとのことなので、
簡単に作ってみたいと思います
エラーだったり、間違いなどがあればお気軽にコメントしてください
ちなみに今回はactive adminというgemを使ってCMS的な機能をつけていきます
管理画面を作る
まずは土台を作ります
データベースはMysqlを使います
$ rails new my_blog -d mysql

# Gemfile
source 'https://rubygems.org'

ruby '2.3.1'
gem 'rails', '4.2.6'
gem 'mysql2', '0.3.18'
gem 'sass-rails', '~> 5.0'
gem 'uglifier', '>= 1.3.0'
gem 'coffee-rails', '~> 4.1.0'
gem 'jquery-rails'
gem 'turbolinks'
gem 'jbuilder', '~> 2.0'
gem 'sdoc', '~> 0.4.0', group: :doc


#管理画面+認証機能のためのgem
gem 'devise'
gem 'activeadmin', github: 'activeadmin'

#画像アップロードのためのgem
gem 'carrierwave'
gem 'rmagick' , require: 'RMagick'


group :development, :test do
  gem 'byebug'
end

group :development do
  gem 'web-console', '~> 2.0'
  gem 'spring'
end
Gemfileに色々とgemを追加したのでまずはbundle installします
$ bundle install準備も整ったので、最初に管理画面を作ります
$ rails g active_admin:installExpected string default value for '--jbuilder'; got true (boolean)
invoke devise
generate devise:install
create config/initializers/devise.rb
create config/locales/devise.en.yml
===============================================================================
Some setup you must do manually if you haven't yet:
1. Ensure you have defined default url options in your environments files. Here
is an example of default_url_options appropriate for a development environment
in config/environments/development.rb:
config.action_mailer.default_url_options = { host: 'localhost', port: 3000 }
In production, :host should be set to the actual host of your application.
2. Ensure you have defined root_url to *something* in your config/routes.rb.
For example:
root to: "home#index"
3. Ensure you have flash messages in app/views/layouts/application.html.erb.
For example:
<p class="notice"><%= notice %></p>
<p class="alert"><%= alert %></p>
4. You can copy Devise views (for customization) to your app by running:
rails g devise:views
===============================================================================
invoke active_record
create db/migrate/20161214123832_devise_create_admin_users.rb
create app/models/admin_user.rb
invoke test_unit
create test/models/admin_user_test.rb
create test/fixtures/admin_users.yml
insert app/models/admin_user.rb
route devise_for :admin_users
gsub app/models/admin_user.rb
gsub config/routes.rb
append db/seeds.rb
create config/initializers/active_admin.rb
create app/admin
create app/admin/dashboard.rb
create app/admin/admin_user.rb
insert config/routes.rb
generate active_admin:assets
Running via Spring preloader in process 82053
Expected string default value for '--jbuilder'; got true (boolean)
create app/assets/javascripts/active_admin.js.coffee
create app/assets/stylesheets/active_admin.scss
create db/migrate/20161214123836_create_active_admin_comments.rbこんな感じになったらOKです
次にマイグレーションファイルを実行します
$ rake db:create db:migrateactive_adminをインストールすると管理者権限のユーザー情報がdb/seeds.rbに記載されるので、それをデータベースに入れましょう!
メールアドレスやパスワードは任意で変更できるので、変えたい方は変えてください
AdminUser.create!(email: 'admin@example.com', password: 'password', password_confirmation: 'password')$ rake db:seedサーバーを起動してちゃんと動いているか確認しましょう
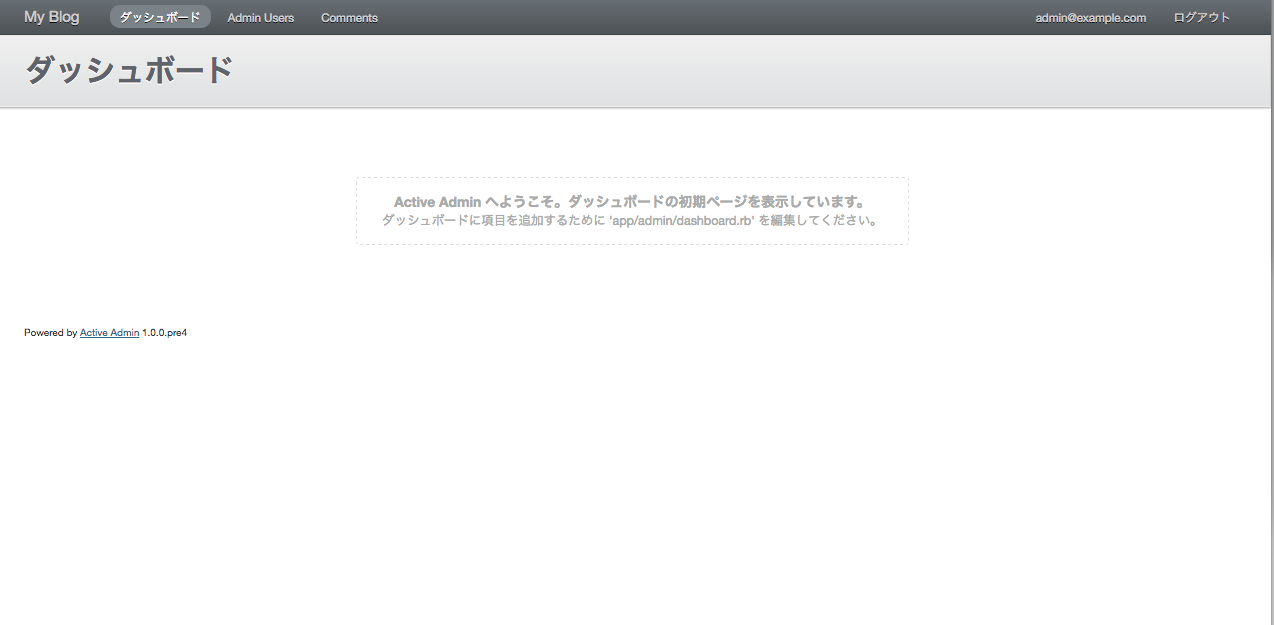
rails slocalhost:3000/adminで以下のような画面が出てきたらちゃんと動いている証拠です
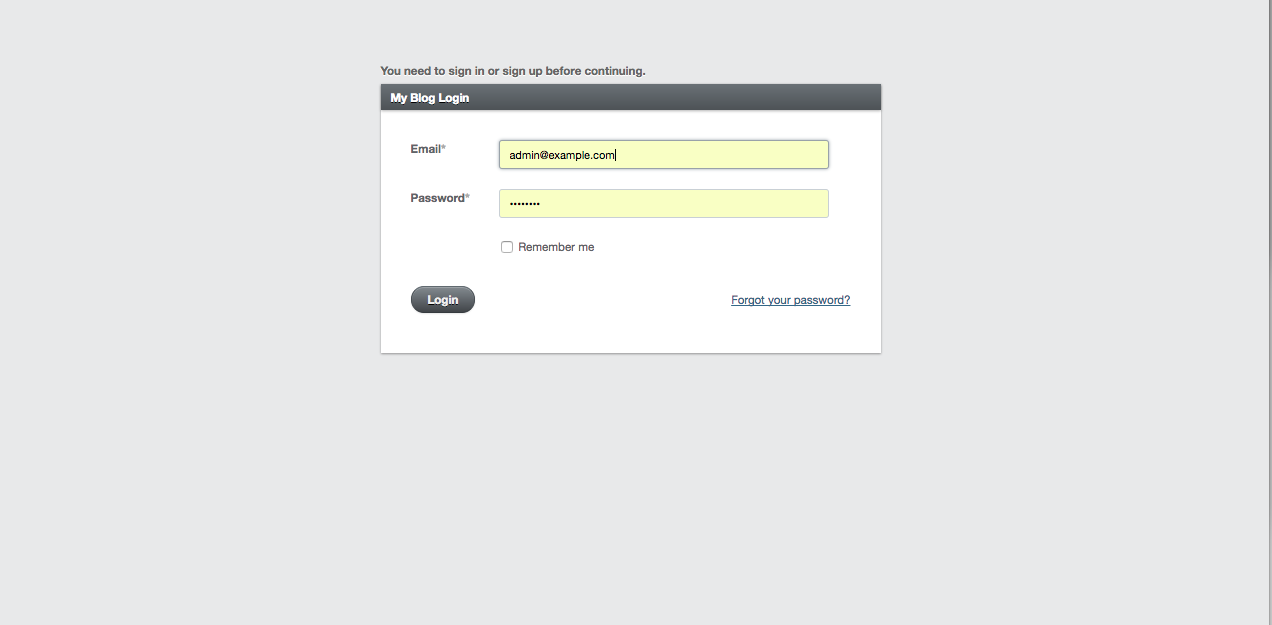
ログインするには
- email: admin@example.com
- password: password
と入力すればこんな画面になります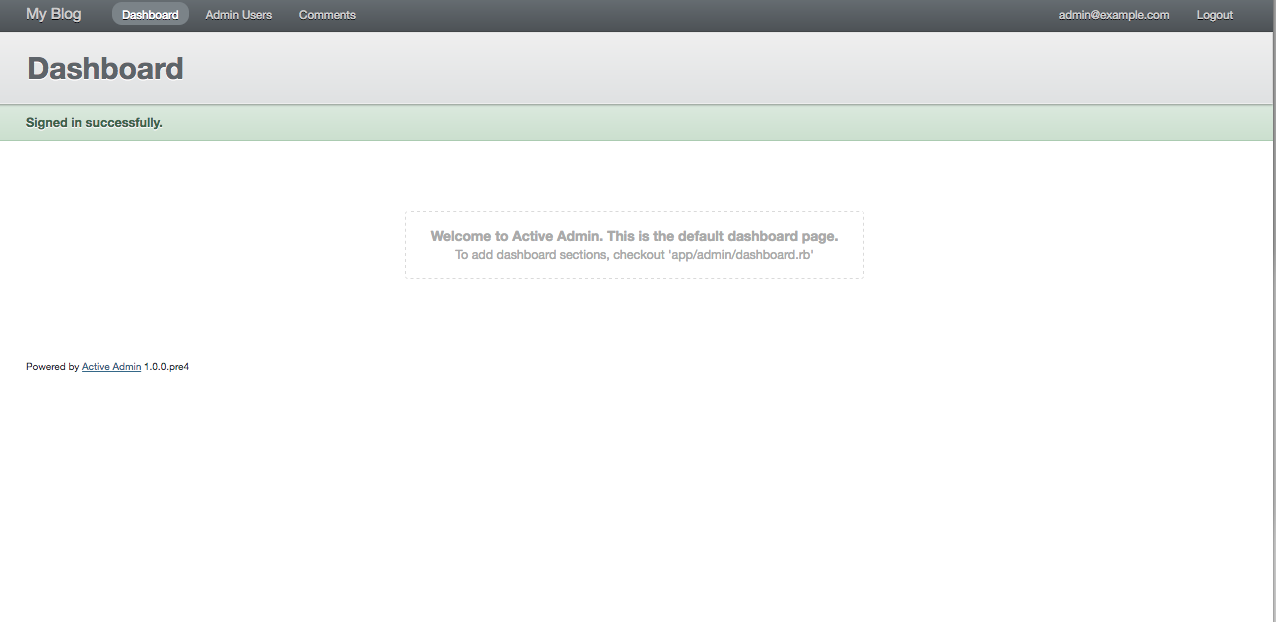
さて、ログイン機能ができたところで、次は日本語に対応していきたいと思います
config/application.rbを以下のように変更してください
ついでにtime_zomeも東京に合わせておきましょう
module MyBlog
  class Application < Rails::Application
    # Settings in config/environments/* take precedence over those specified here.
    # Application configuration should go into files in config/initializers
    # -- all .rb files in that directory are automatically loaded.

    # Set Time.zone default to the specified zone and make Active Record auto-convert to this zone.
    # Run "rake -D time" for a list of tasks for finding time zone names. Default is UTC.
    config.time_zone = 'Tokyo'

    # The default locale is :en and all translations from config/locales/*.rb,yml are auto loaded.
    # config.i18n.load_path += Dir[Rails.root.join('my', 'locales', '*.{rb,yml}').to_s]
    config.i18n.default_locale = :ja

    # Do not swallow errors in after_commit/after_rollback callbacks.
    config.active_record.raise_in_transactional_callbacks = true
  end
end
次は日本語に対応できるように翻訳ファイルをconfig/localesに追加します
以下のリンクに翻訳ファイルがあるのでコピーしてきてください
yhara/devise.ja.yml
config/locales/にある devise.en.yml は devise.ja.yml に名前を変更してコピーした中身をdevise.ja.ymlにペーストします
ja:
  errors:
    messages:
      not_found: "は見つかりませんでした"
#      not_found: "not found"
      already_confirmed: "は既に登録済みです"
#      already_confirmed: "was already confirmed"
      not_locked: "は凍結されていません"
#      not_locked: "was not locked"

  devise:
    failure:
      unauthenticated: 'ログインしてください。'
#      unauthenticated: 'You need to sign in or sign up before continuing.'
      unconfirmed: '本登録を行ってください。'
#      unconfirmed: 'You have to confirm your account before continuing.'
      locked: 'あなたのアカウントは凍結されています。'
#      locked: 'Your account is locked.'
      invalid: 'メールアドレスかパスワードが違います。'
#      invalid: 'Invalid email or password.'
      invalid_token: '認証キーが不正です。'
#      invalid_token: 'Invalid authentication token.'
      timeout: 'セッションがタイムアウトしました。もう一度ログインしてください。'
#      timeout: 'Your session expired, please sign in again to continue.'
      inactive: 'アカウントがアクティベートされていません。'
#      inactive: 'Your account was not activated yet.'
    sessions:
      signed_in: 'ログインしました。'
#      signed_in: 'Signed in successfully.'
      signed_out: 'ログアウトしました。'
#      signed_out: 'Signed out successfully.'
    passwords:
      send_instructions: 'パスワードのリセット方法を数分以内にメールでご連絡します。'
#      send_instructions: 'You will receive an email with instructions about how to reset your password in a few minutes.'
      updated: 'パスワードを変更しました。'
#      updated: 'Your password was changed successfully. You are now signed in.'
    confirmations:
      send_instructions: '登録方法を数分以内にメールでご連絡します。'
#      send_instructions: 'You will receive an email with instructions about how to confirm your account in a few minutes.'
      confirmed: 'アカウントを登録しました。'
#      confirmed: 'Your account was successfully confirmed. You are now signed in.'
    registrations:
      signed_up: 'アカウント登録を受け付けました。確認のメールをお送りします。'
#      signed_up: 'You have signed up successfully. If enabled, a confirmation was sent to your e-mail.'
      updated: 'アカウントを更新しました。'
#      updated: 'You updated your account successfully.'
      destroyed: 'アカウントを削除しました。またのご利用をお待ちしております。'
#      destroyed: 'Bye! Your account was successfully cancelled. We hope to see you again soon.'
    unlocks:
      send_instructions: 'アカウントの凍結解除方法を数分以内にメールでご連絡します。'
#      send_instructions: 'You will receive an email with instructions about how to unlock your account in a few minutes.'
      unlocked: 'アカウントを凍結解除しました。'
#      unlocked: 'Your account was successfully unlocked. You are now signed in.'
    mailer:
      confirmation_instructions:
        subject: 'アカウントの登録方法'
#        subject: 'Confirmation instructions'
      reset_password_instructions:
        subject: 'パスワードの再設定'
#        subject: 'Reset password instructions'
      unlock_instructions:
        subject: 'アカウントの凍結解除'
#        subject: 'Unlock Instructions'
devise.ja.yml だけではなくて en.yml の方も日本語に対応させましょう
svenfuchs/rails-i18n
こちらも先程と同様、en.yml から ja.yml に変更します
もちろんリンク先からコピーした中身をペーストします
ja:
  activerecord:
    errors:
      messages:
        record_invalid: "バリデーションに失敗しました: %{errors}"
        restrict_dependent_destroy:
          has_one: "%{record}が存在しているので削除できません"
          has_many: "%{record}が存在しているので削除できません"
  date:
    abbr_day_names:
    - 日
    - 月
    - 火
    - 水
    - 木
    - 金
    - 土
    abbr_month_names:
    -
    - 1月
    - 2月
    - 3月
    - 4月
    - 5月
    - 6月
    - 7月
    - 8月
    - 9月
    - 10月
    - 11月
    - 12月
    day_names:
    - 日曜日
    - 月曜日
    - 火曜日
    - 水曜日
    - 木曜日
    - 金曜日
    - 土曜日
    formats:
      default: "%Y/%m/%d"
      long: "%Y年%m月%d日(%a)"
      short: "%m/%d"
    month_names:
    -
    - 1月
    - 2月
    - 3月
    - 4月
    - 5月
    - 6月
    - 7月
    - 8月
    - 9月
    - 10月
    - 11月
    - 12月
    order:
    - :year
    - :month
    - :day
  datetime:
    distance_in_words:
      about_x_hours:
        one: 約1時間
        other: 約%{count}時間
      about_x_months:
        one: 約1ヶ月
        other: 約%{count}ヶ月
      about_x_years:
        one: 約1年
        other: 約%{count}年
      almost_x_years:
        one: 1年弱
        other: "%{count}年弱"
      half_a_minute: 30秒前後
      less_than_x_minutes:
        one: 1分以内
        other: "%{count}分未満"
      less_than_x_seconds:
        one: 1秒以内
        other: "%{count}秒未満"
      over_x_years:
        one: 1年以上
        other: "%{count}年以上"
      x_days:
        one: 1日
        other: "%{count}日"
      x_minutes:
        one: 1分
        other: "%{count}分"
      x_months:
        one: 1ヶ月
        other: "%{count}ヶ月"
      x_seconds:
        one: 1秒
        other: "%{count}秒"
    prompts:
      day: 日
      hour: 時
      minute: 分
      month: 月
      second: 秒
      year: 年
  errors:
    format: "%{attribute}%{message}"
    messages:
      accepted: を受諾してください
      blank: を入力してください
      present: は入力しないでください
      confirmation: と%{attribute}の入力が一致しません
      empty: を入力してください
      equal_to: は%{count}にしてください
      even: は偶数にしてください
      exclusion: は予約されています
      greater_than: は%{count}より大きい値にしてください
      greater_than_or_equal_to: は%{count}以上の値にしてください
      inclusion: は一覧にありません
      invalid: は不正な値です
      less_than: は%{count}より小さい値にしてください
      less_than_or_equal_to: は%{count}以下の値にしてください
      model_invalid: "バリデーションに失敗しました: %{errors}"
      not_a_number: は数値で入力してください
      not_an_integer: は整数で入力してください
      odd: は奇数にしてください
      required: を入力してください
      taken: はすでに存在します
      too_long: は%{count}文字以内で入力してください
      too_short: は%{count}文字以上で入力してください
      wrong_length: は%{count}文字で入力してください
      other_than: は%{count}以外の値にしてください
    template:
      body: 次の項目を確認してください
      header:
        one: "%{model}にエラーが発生しました"
        other: "%{model}に%{count}個のエラーが発生しました"
  helpers:
    select:
      prompt: 選択してください
    submit:
      create: 登録する
      submit: 保存する
      update: 更新する
  number:
    currency:
      format:
        delimiter: ","
        format: "%n%u"
        precision: 0
        separator: "."
        significant: false
        strip_insignificant_zeros: false
        unit: 円
    format:
      delimiter: ","
      precision: 3
      separator: "."
      significant: false
      strip_insignificant_zeros: false
    human:
      decimal_units:
        format: "%n %u"
        units:
          billion: 十億
          million: 百万
          quadrillion: 千兆
          thousand: 千
          trillion: 兆
          unit: ''
      format:
        delimiter: ''
        precision: 3
        significant: true
        strip_insignificant_zeros: true
      storage_units:
        format: "%n%u"
        units:
          byte: バイト
          gb: GB
          kb: KB
          mb: MB
          tb: TB
    percentage:
      format:
        delimiter: ''
        format: "%n%"
    precision:
      format:
        delimiter: ''
  support:
    array:
      last_word_connector: と
      two_words_connector: と
      words_connector: と
  time:
    am: 午前
    formats:
      default: "%Y/%m/%d %H:%M:%S"
      long: "%Y年%m月%d日(%a) %H時%M分%S秒 %z"
      short: "%y/%m/%d %H:%M"
    pm: 午後
再起動しないとエラー画面が出てくるので一度 rails s を再起動します
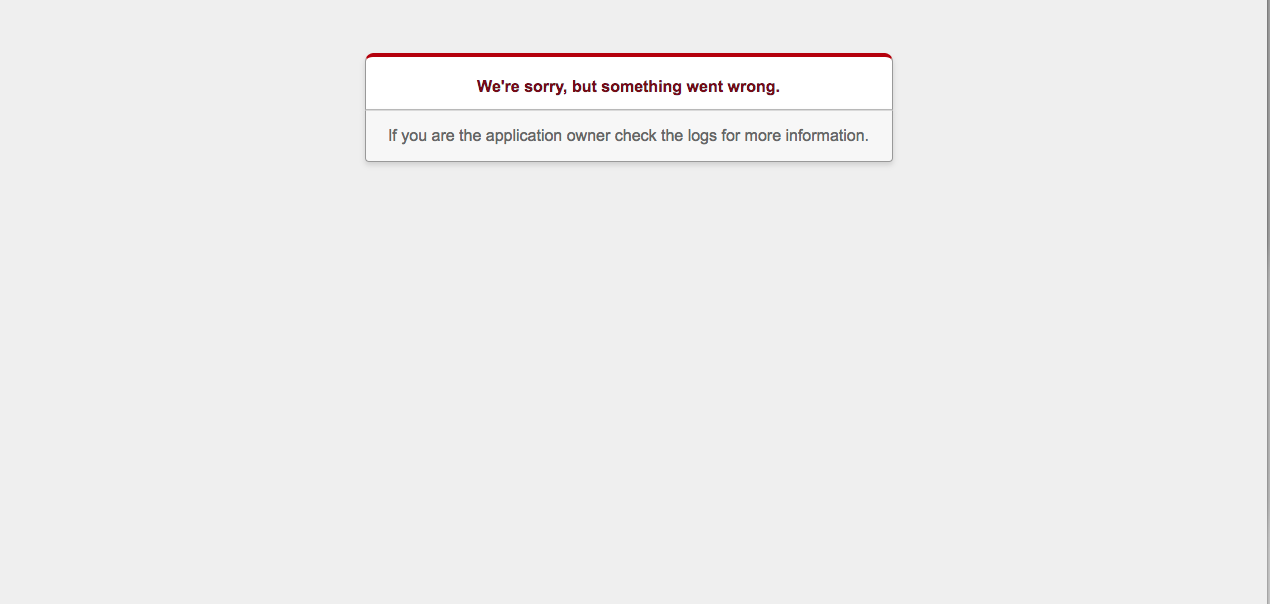
サーバーを再起動すると、ちゃんと日本語化されてます!
投稿用のpost modelと画像アップロード用のpost_image modelを作る
さて、次は post model と post_image modelを作っていきます!
post modelは
- title(タイトル)
- brief(記事の要約)
- body(本文)
post_image modelは
- image(画像)
- post_id(どの記事に属しているか)
のかラムをそれぞれに作ります
まずはpost model
$ rails g scaffold post title:string brief:string body:textコントローラーを見てみるとストロングパラメータ以外のメソッドがありません
class PostsController < InheritedResources::Base

  private

    def post_params
      params.require(:post).permit(:title, :brief, :body)
    end
end
config/application.rbに以下のコードを入れておくといつも通りのコントローラーになるようです
config.app_generators.scaffold_controller = :scaffold_controllerActiveAdminを入れたら一緒にinherited resourcesも入ってscaffoldテンプレートが上書きされてしまう
次にpost model と posts_controllerを修正します
class Post < ActiveRecord::Base
  has_many :post_images
  accepts_nested_attributes_for :post_images
end
class PostsController < InheritedResources::Base
private
def post_params
params.require(:post).permit(:title, :brief, :body, post_images_attributes: [:id,:image] )
end
endaccepts_nested_attributes_for メソッドを使うとpost_controllerからpost_imageに画像を投稿することができるようになります
ですので、post_image modelはコントローラーが必要ないので、モデルだけを作成します
$ rails g model post_image image:text post_idエラー発生
実行しようとしたらこんなエラーが出てしまいました
`rescue in load_yml': can not load translations from /projects/my_blog/config/locales/devise.en.yml: #<Errno::ENOENT: No such file or directory @ rb_sysopen翻訳ファイルを削除した後のキャッシュが原因でエラーが起こるっぽいので
$ spring stop
$ spring start
springを再起動したら治りました
can not load translations from (already deleted file) #301
Rails: if validation fail, shows error “I18n::InvalidLocaleData – can not load translations from simple_form.en.yml”
$ rails g model post_image image:text post_idもう一回実行したらできました
Expected string default value for '--jbuilder'; got true (boolean)
      invoke  active_record
      create    db/migrate/20161214133230_create_post_images.rb
      create    app/models/post_image.rb
      invoke    test_unit
      create      test/models/post_image_test.rb
      create      test/fixtures/post_images.yml
post はたくさんの画像を持っているので、 belongs_to を加えてアソシエーションを作ります
class PostImage < ActiveRecord::Base
  belongs_to :post
end
次に画像を投稿できるように carrierwave というgemを使います
このgemを使うと、ものすごく簡単に画像を投稿することができます
また rmagick というgemも併用することで、画像をリサイズできたりもします
carrierwaveを使えるようにするために、まずはuploaderをgenerateします
$ rails g uploader image次は設定をしていきます
# encoding: utf-8

class ImageUploader < CarrierWave::Uploader::Base
  include CarrierWave::RMagick

  storage :file

  def store_dir
    "uploads/#{model.class.to_s.underscore}/#{mounted_as}/#{model.id}"
  end

  #アップロードするファイルの大きさ[width, height]
  process :resize_to_limit => [850, 600]
  version :thumb do
    process :resize_to_fit => [400, 400]
  end

  def extension_white_list
    %w(jpg jpeg gif png)
  end
end
こんな感じにしてください
次は画像を投稿できるように、post_image modelにコードを追加します
class PostImage < ActiveRecord::Base
  belongs_to :post
  mount_uploader :image, ImageUploader
end
これで画像をpost_image modelに追加できるようになります
管理画面で作業できるようにする
ここからは管理画面で作業をできるようにしていきます
まずは管理画面でpost model と post_image modelを操作できるようにしていきます
ついでにmigrateもしましょう
$ rails g active_admin:resource post
$ rails g active_admin:resource post_image
$ rake db:migrate
上記のコードを実行すると、actice_adminのメニューにpost と post_imageが追加されます
※例えば、タグなどの機能をつけた場合、上記の resource 以降をモデル名でターミナルに打ち込めば
そのモデルの操作をactive adminで行えるようになります

まずはPostsをクリックして見てください
今のままじゃpost_imageに画像を投稿できないので、ファイルをいじっていきます
まずは post.rb からいきます
ActiveAdmin.register Post do

  #formのコード
  form do |f|
    f.inputs '記事の内容' do
      f.input :title
      f.input :brief
      f.input :body
      f.has_many :post_images, allow_destroy: true,
                 new_record: true do |t|
        t.input :image
      end
      f.actions
    end
  end


  permit_params :title, :brief, :body, post_images_attributes: [:id, :image, :reference, :_destroy]

end
これで動くはずなので、記事を作ってみましょう
postは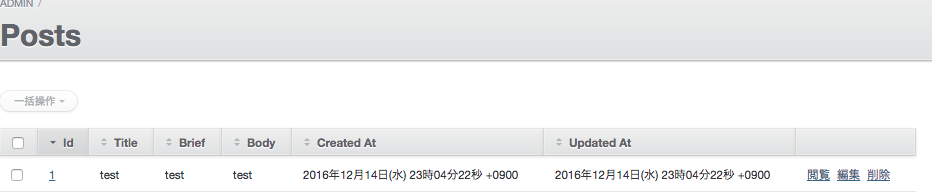
こんな感じです
title, brief, body しっかり投稿できてます
post_imageも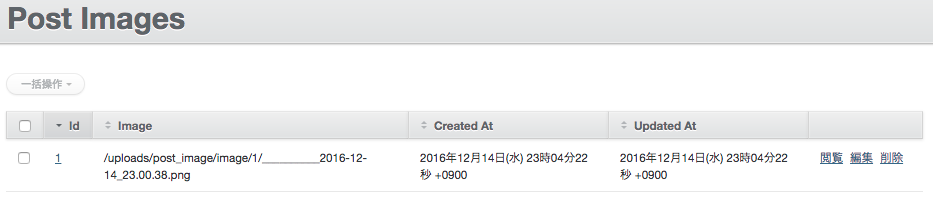
投稿できているようです
ただ、このままだとかなりわかりづらいので、画像も表示して見ましょう
ActiveAdmin.register PostImage do

#indexページ
  index do
    selectable_column
    id_column
    column :image do |b|
      image_tag(b.image.url(:thumb))
    end
    column :post_id
    column :created_at
    column :updated_at
    actions
  end

  #showページ
  show do
    attributes_table do
      row :image do |b|
        image_tag(b.image.url(:thumb))
      end
      row :created_at
      row :updated_at
    end
  end

  permit_params :image, :post_id
end
修正後はこのような画面になっているはずです
index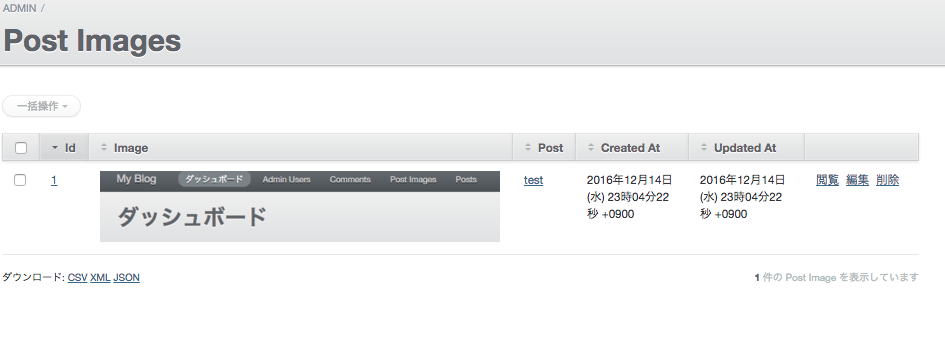
show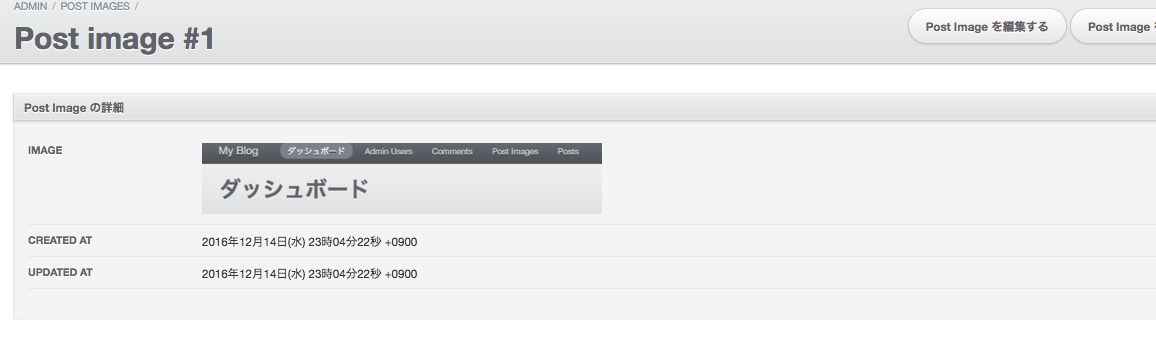
viewについては別の記事でまとめていきます
とりあえずは管理画面+投稿機能はできました
次はviewを作っていきます
こちらが次の記事です
Railsで簡単にブログを作る2(初心者向け)
コメントを残す