
今まで基本的にはngOnInitしか使用していなかったのですが、ngDoCheckとngOnChangesに明確な違いがあることを知ったので記事にしておこうと思います
こちらが今回使用するコードです
・header.component.ts
・app.component.ts
の2つです
//header.component.ts

import {Component, DoCheck, Input, OnChanges, OnInit, SimpleChanges} from '@angular/core';

@Component({
    selector: 'app-header',
    templateUrl: './header.component.html',
    styleUrls: ['./header.component.css']
})
export class HeaderComponent implements OnInit, DoCheck, OnChanges {

    @Input('title') title: number;

    public count = 0;

    constructor() {
    }

    ngOnInit() {
    }

    ngDoCheck() {
    }

    ngOnChanges(changes: SimpleChanges) {
        console.log(changes);
    }
}

//header.component.html
<h2>title => {{title}}</h2>

//app.component.ts
import {Component, OnInit} from '@angular/core';

@Component({
    selector: 'app-root',
    templateUrl: './app.component.html',
    styleUrls: ['./app.component.css']
})
export class AppComponent implements OnInit {

    public title;

    constructor() {
    }

    ngOnInit() {
    }

}

// app.component.html
<div style="text-align:center">
    <img width="300" alt="Angular Logo"
         src="data:image/svg+xml;base64,PHN2ZyB4bWxucz0iaHR0cDovL3d3dy53My5vcmcvMjAwMC9zdmciIHZpZXdCb3g9IjAgMCAyNTAgMjUwIj4KICAgIDxwYXRoIGZpbGw9IiNERDAwMzEiIGQ9Ik0xMjUgMzBMMzEuOSA2My4ybDE0LjIgMTIzLjFMMTI1IDIzMGw3OC45LTQzLjcgMTQuMi0xMjMuMXoiIC8+CiAgICA8cGF0aCBmaWxsPSIjQzMwMDJGIiBkPSJNMTI1IDMwdjIyLjItLjFWMjMwbDc4LjktNDMuNyAxNC4yLTEyMy4xTDEyNSAzMHoiIC8+CiAgICA8cGF0aCAgZmlsbD0iI0ZGRkZGRiIgZD0iTTEyNSA1Mi4xTDY2LjggMTgyLjZoMjEuN2wxMS43LTI5LjJoNDkuNGwxMS43IDI5LjJIMTgzTDEyNSA1Mi4xem0xNyA4My4zaC0zNGwxNy00MC45IDE3IDQwLjl6IiAvPgogIDwvc3ZnPg==">
</div>
<h2>Here are some links to help you start: </h2>


<app-header [title]="title"></app-header>

<input type="text" [(ngModel)]="title">
ngOnChangesについて
ngOnChangesはどの変数が変化しても発火するものと考えていましたが、そうではなく@Input要素にのみ発火します

@Inputの要素ではないcountにsetIntervalでデータを追加してみると
// header.component.ts

    @Input('title') title: number;

    public count = 0;

    constructor() {
        setInterval(() => {
            this.count ++;
            console.log(this.count);
        }, 1000);
    }
ngOnChangesは発火しません
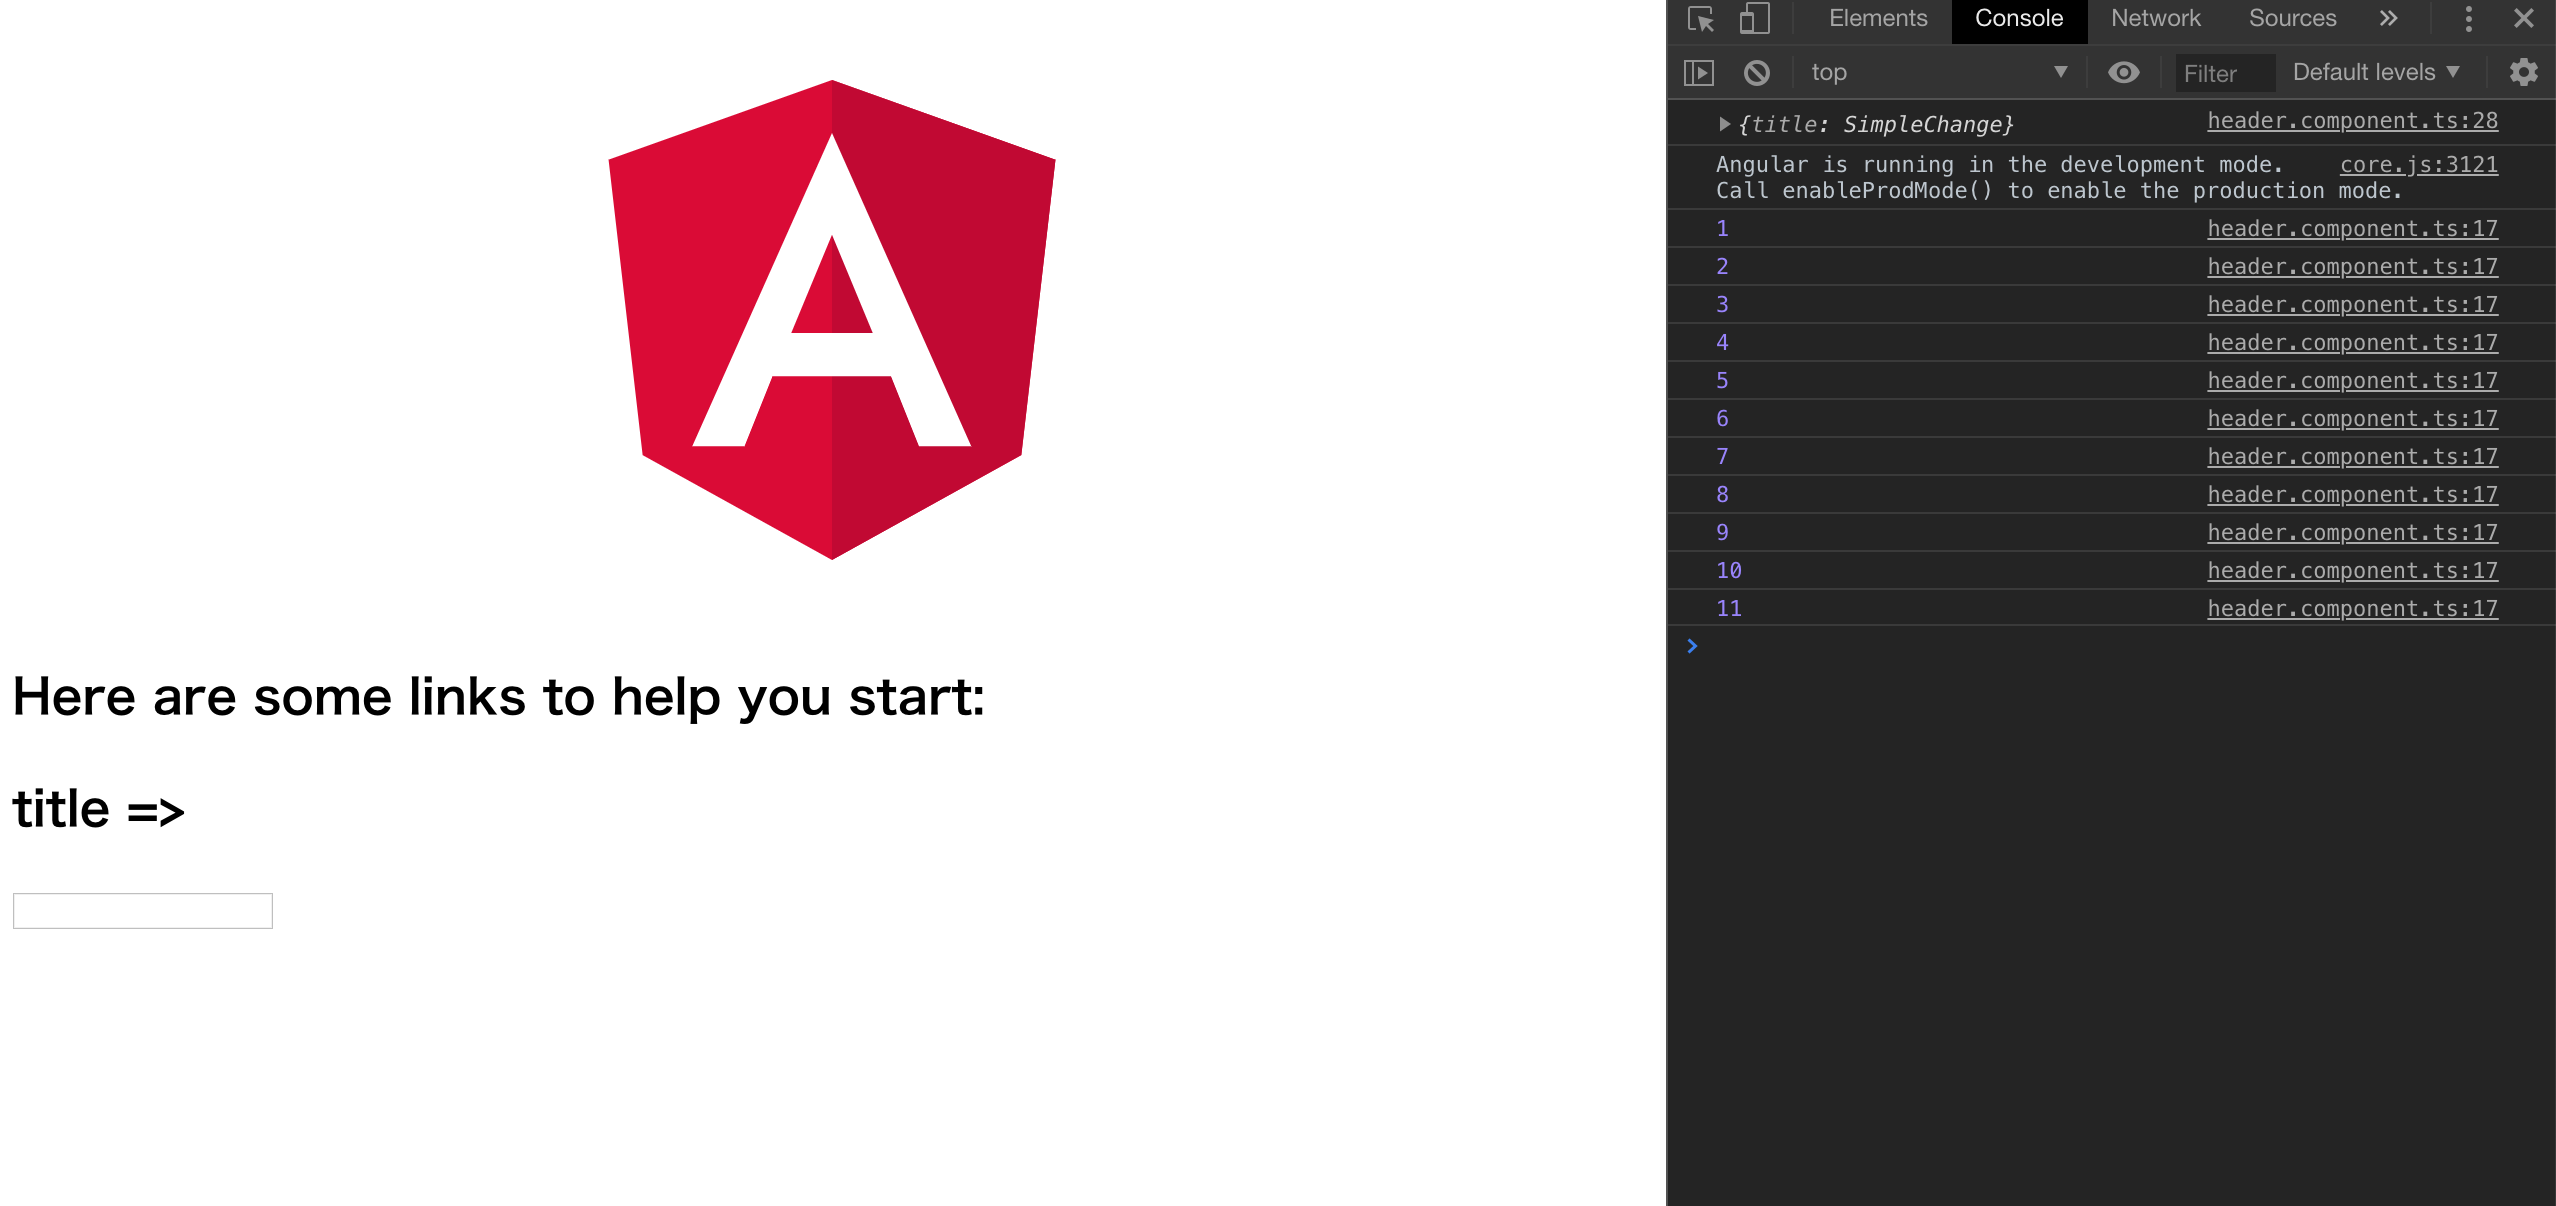
ですので、ngOnChangesを使用するときは必ず@Inputの要素であることが重要です
ngDoCheckについて
ngDoCheckは@Inputの要素ではないが変化を取得したいときに使います
先ほどの例だとcountがそれに当たりますね
ちょいコードを変えます
// header.component.ts

 @Input('title') title: number;

    public count = 0;

    constructor() {
        setInterval(() => {
            this.count ++;
        }, 1000);
    }

    ngOnInit() {
    }

    ngDoCheck() {
        console.log(this.count);
    }

    ngOnChanges(changes: SimpleChanges) {
        console.log(changes);
    }
こうすることによって以下の画像のように@Input要素でなくともデータを取得することができます。
ただしngDoCheckは高負荷になりやすいそうなので注意が必要です
参考リンク
If you think `ngDoCheck` means your component is being checked — read this article
Angular2 change detection: ngOnChanges not firing for nested object
Angular 2アンチパターン集
コメントを残す