
※ rails 6に対応させました!
初心者向け : Railsログイン機能をつけてQAサイトを作る 1 -ログイン機能+質問機能-
初心者向け : Railsログイン機能をつけてQAサイトを作る 2 -Bootstrap+UI修正-
初心者向け : Railsログイン機能をつけてQAサイトを作る 3 -回答機能+リアクション機能+ベストアンサー機能-
初心者向け : Railsログイン機能をつけてQAサイトを作る 4 -タグ付け機能-
初心者向け : Railsログイン機能をつけてQAサイトを作る 5 -管理画面機能-
初心者向け : Railsログイン機能をつけてQAサイトを作る 6 -検索機能-
Railsを利用してQAサイトを作っていきます
このチュートリアルを通して
- devise
- qaサイトの基礎
を学ぶことができます
複数回に分けて実装していきます
今回は回答者がログインして質問を作成することろまでやります
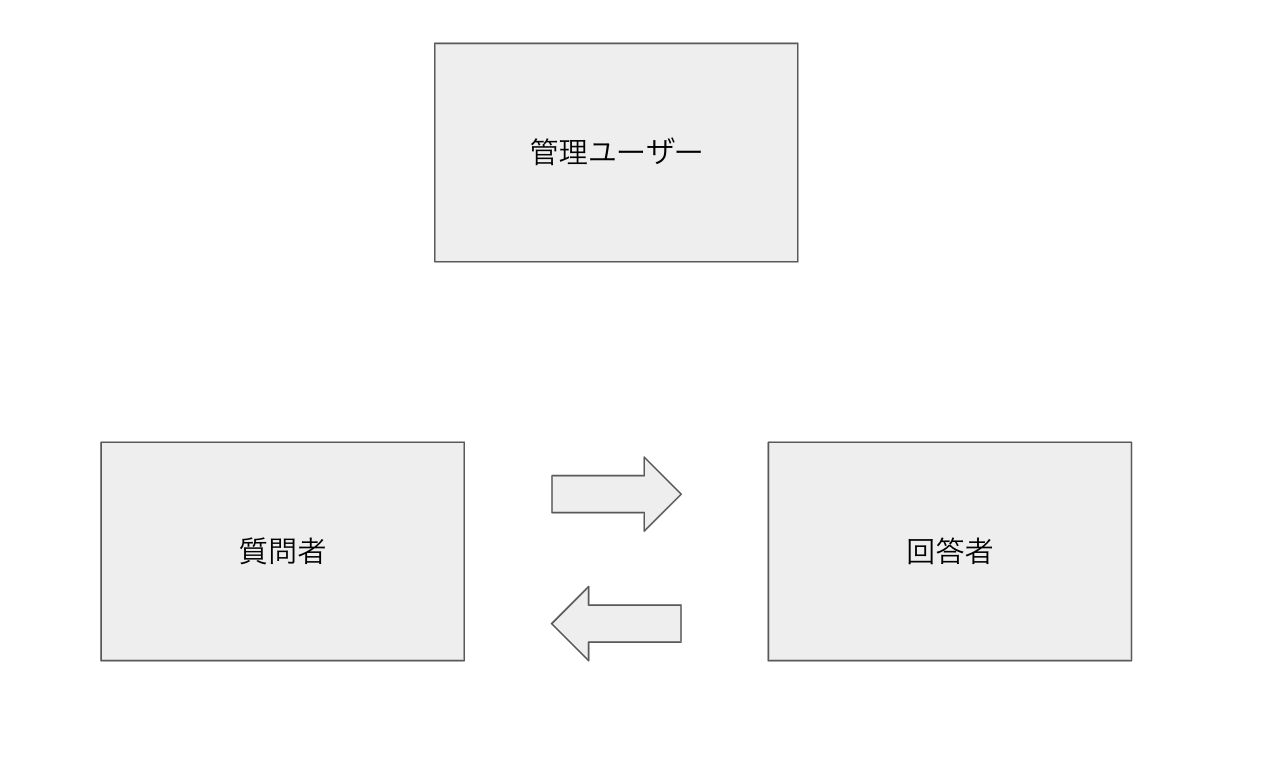
イメージ
ユーザーについて
- 質問者 → 何か質問したい人
- 回答者 → 回答できる人
- 管理者 → システムを管理する人
Railsのプロジェクト作成
まずはターミナルでプロジェクトを作成します
$ rails new qa-siteこちらがgemfile
source 'https://rubygems.org'


git_source(:github) { |repo| "https://github.com/#{repo}.git" }

ruby '2.6.3'

gem 'rails', '~> 6.0.3', '>= 6.0.3.3'
gem 'sqlite3', '~> 1.4'
gem 'puma', '~> 4.1'
gem 'sass-rails', '>= 6'
gem 'webpacker', '~> 4.0'
gem 'turbolinks', '~> 5'
gem 'jbuilder', '~> 2.7'
gem 'bootsnap', '>= 1.4.2', require: false

group :development, :test do
gem 'byebug', platforms: [:mri, :mingw, :x64_mingw]
end

group :development do
gem 'web-console', '>= 3.3.0'
gem 'listen', '~> 3.2'
gem 'spring'
gem 'spring-watcher-listen', '~> 2.0.0'
end

group :test do
gem 'capybara', '>= 2.15'
gem 'selenium-webdriver'
gem 'webdrivers'
end

gem 'tzinfo-data', platforms: [:mingw, :mswin, :x64_mingw, :jruby]
次はターミナルで
$ bundle installrailsのプロジェクトはこれでOK
ログイン機能を実装
ログイン機能はdeviseというgemを利用します
こちらのgemはログイン関連でかなり使われることが多いです
ちなみに自分で一から作成することもできますが、やはりバグやエラーの元となるコードを
生んでしまう可能性があるので、既存の便利な機能を使いましょう
deviseを利用するにはまずはGemfileに追加します
source 'https://rubygems.org'


git_source(:github) { |repo| "https://github.com/#{repo}.git" }

ruby '2.6.3'

gem 'rails', '~> 6.0.3', '>= 6.0.3.3'
gem 'sqlite3', '~> 1.4'
gem 'puma', '~> 4.1'
gem 'sass-rails', '>= 6'
gem 'webpacker', '~> 4.0'
gem 'turbolinks', '~> 5'
gem 'jbuilder', '~> 2.7'
gem 'bootsnap', '>= 1.4.2', require: false

gem 'devise' # ログイン機能実装のためのdeviseというgemを追加

group :development, :test do
gem 'byebug', platforms: [:mri, :mingw, :x64_mingw]
end

group :development do
gem 'web-console', '>= 3.3.0'
gem 'listen', '~> 3.2'
gem 'spring'
gem 'spring-watcher-listen', '~> 2.0.0'
end

group :test do
gem 'capybara', '>= 2.15'
gem 'selenium-webdriver'
gem 'webdrivers'
end

gem 'tzinfo-data', platforms: [:mingw, :mswin, :x64_mingw, :jruby]
その後ターミナルで
$ bundle installdeviseの設定ファイルを作成するためにターミナルで
$ rails g devise:installひとまずこちらでdeviseの準備は完了です
Home controllerを作成
ターミナルで
$ rails g controller home indexを実行しその後、views/lauouts/application.html.erbにこちらを追加します
こちらを追加することでログインのメッセージを表示することが可能となります
<!DOCTYPE html>

<html>
<head>
<title>QaSite</title>
<%= csrf_meta_tags %>
<%= csp_meta_tag %>

<%= stylesheet_link_tag 'application', media: 'all', 'data-turbolinks-track': 'reload' %>
<%= javascript_pack_tag 'application', 'data-turbolinks-track': 'reload' %>
</head>

<body>
<!--ここから--> <p class="notice"><%= notice %></p>
<p class="alert"><%= alert %></p> <!--ここまで-->
<%= yield %>
</body>
</html>
User modelを作成
ターミナルでこちらを実行
$ rails g devise User実行が完了すると、db/migrateにこのような内容のファイルが生成されます
class DeviseCreateUsers < ActiveRecord::Migration[6.0]

  def change
    create_table :users do |t|
## Database authenticatable
      t.string :email, null: false, default: ""
      t.string :encrypted_password, null: false, default: ""

## Recoverable
      t.string :reset_password_token
      t.datetime :reset_password_sent_at

## Rememberable
      t.datetime :remember_created_at

## Trackable
# t.integer :sign_in_count, default: 0, null: false
# t.datetime :current_sign_in_at
# t.datetime :last_sign_in_at
# t.string :current_sign_in_ip
# t.string :last_sign_in_ip

## Confirmable
# t.string :confirmation_token
# t.datetime :confirmed_at
# t.datetime :confirmation_sent_at
# t.string :unconfirmed_email # Only if using reconfirmable

## Lockable
# t.integer :failed_attempts, default: 0, null: false # Only if lock strategy is :failed_attempts
# t.string :unlock_token # Only if unlock strategy is :email or :both
# t.datetime :locked_at


      t.timestamps null: false
    end

    add_index :users, :email, unique: true
    add_index :users, :reset_password_token, unique: true
# add_index :users, :confirmation_token, unique: true
# add_index :users, :unlock_token, unique: true
  end
end
このファイルはデータベースを作成するための指示書ですが、
User modelには名前とユーザーのタイプ(質問者、回答者)がないので追加します
# frozen_string_literal: true

class DeviseCreateUsers < ActiveRecord::Migration[6.0]
  def change
    create_table :users do |t|
## Database authenticatable
      t.string :name, null: false, default: "" # ユーザーの名前を入れるために追加
      t.string :email, null: false, default: ""
      t.string :encrypted_password, null: false, default: ""
      t.string :role, null: false, default: "" # ユーザーのタイプを判別するために追加

## Recoverable
      t.string :reset_password_token
      t.datetime :reset_password_sent_at

## Rememberable
      t.datetime :remember_created_at

## Trackable
# t.integer :sign_in_count, default: 0, null: false
# t.datetime :current_sign_in_at
# t.datetime :last_sign_in_at
# t.string :current_sign_in_ip
# t.string :last_sign_in_ip

## Confirmable
# t.string :confirmation_token
# t.datetime :confirmed_at
# t.datetime :confirmation_sent_at
# t.string :unconfirmed_email # Only if using reconfirmable

## Lockable
# t.integer :failed_attempts, default: 0, null: false # Only if lock strategy is :failed_attempts
# t.string :unlock_token # Only if unlock strategy is :email or :both
# t.datetime :locked_at


      t.timestamps null: false
    end

    add_index :users, :email, unique: true
    add_index :users, :reset_password_token, unique: true
# add_index :users, :confirmation_token, unique: true
# add_index :users, :unlock_token, unique: true
  end
end
追加が完了したらdbを作成します
$ rails db:migrateUser controllerを作成
User modelを利用するためにUser controllerを作成するのでターミナルで下記を実行
$ rails g devise:controllers usersコントローラーの作成が完了したら、次はルートを設定します
#config/routes.rb
Rails.application.routes.draw do
  root 'home#index'
  get 'home/index'
  devise_for :users, controllers: {
      sessions: 'users/sessions'
  }
end
次はHomeコントローラーをこのように修正します。
class HomeController < ApplicationController
  before_action :authenticate_user!

  def index
  end

end
before_action :authenticate_user!はログインしていない状態であれば、
ログインページへ飛ばす、ログインしていればこのページのアクションを実行できる
という便利な機能です
ログイン機能の動作確認
それではログイン機能ができているか試します
ターミナルで
$ rails sをして
「http://localhost:3000」にアクセスします
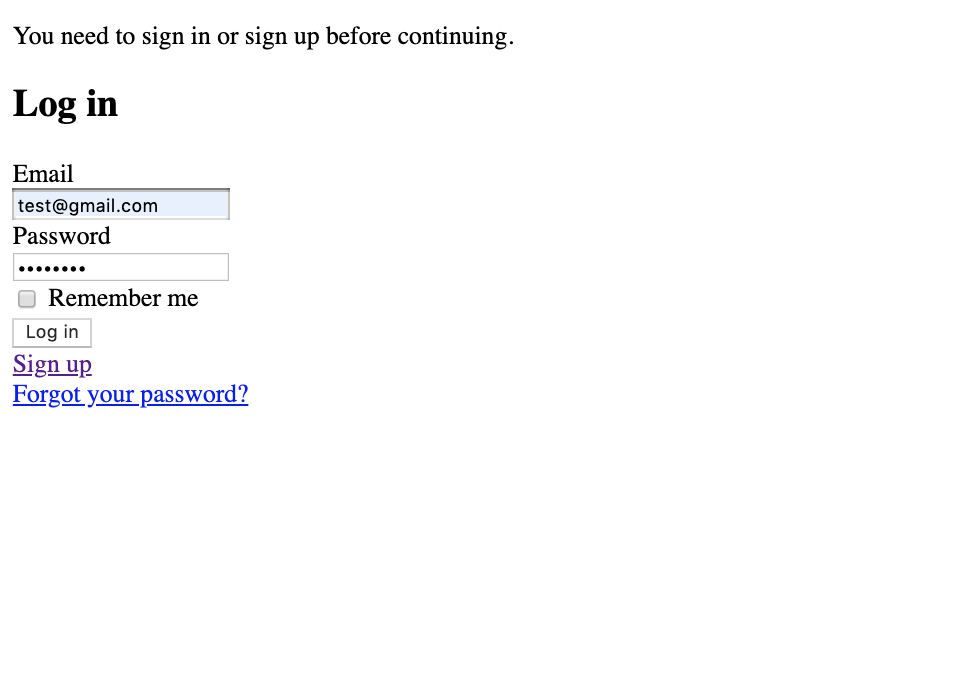
Railsは無事にうごきました!
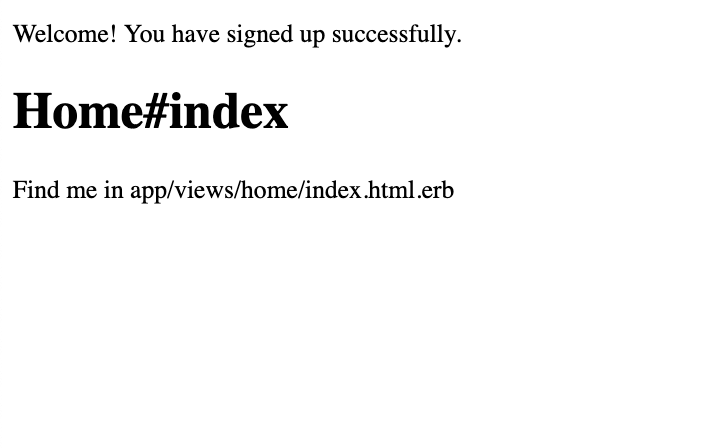
ログインの前にまずは新規登録をします
Sign upをクリックして必要情報を入力すると、Homeコントローラーに遷移します
ただ先程データベースへ追加した
- 名前
- role
を追加できていなかったので、ターミナルで状況を確認しましょう
$ rails cUserの状況が知りたいので、User.allをします
irb(main):001:0> User.all
  User Load (2.0ms)  SELECT  "users".* FROM "users" LIMIT ?  [["LIMIT", 11]]
=> #<ActiveRecord::Relation [#<User id: 1, name: "", email: "test@gmail.com", role: "", created_at: "2019-07-13 06:16:53", updated_at: "2019-07-13 06:16:53">]>
irb(main):002:0>
nameとroleはフォームで登録していないので、やはり空になっています
空になっている理由はdb/migrateのファイルがこのように、
defaultでは文字をいれずに空にする、設定になっているからです
class DeviseCreateUsers < ActiveRecord::Migration[6.0]
  def change
    create_table :users do |t|
      t.string :name,              null: false, default: ""  # defaultが"" = 何もなければからで登録
      t.string :email,              null: false, default: ""
      t.string :encrypted_password, null: false, default: ""
      t.string :role,              null: false, default: ""  # defaultが"" = 何もなければからで登録

     # 中間部分は省略


      t.timestamps null: false
    end
  end
end
nameとroleの追加修正
今後ユーザーが登録する際、せめて名前は自分でいれていただいて、
roleのところはひとまずセレクトボックスで対処しましょう
そのためにログアウトができるようにリンクをHomeコントローラーに
追加しておきます
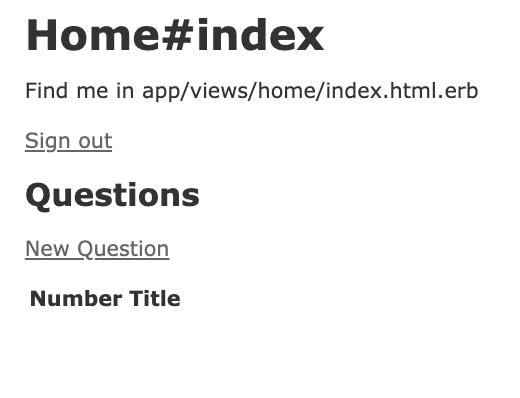
views/home/index.html.erb
<h1>Home#index</h1>

<p>Find me in app/views/home/index.html.erb</p>
<% if user_signed_in? %>
<%= link_to 'Sign out', destroy_user_session_path, method: :delete %>
<% end %>
このようにSign outボタンが追加されています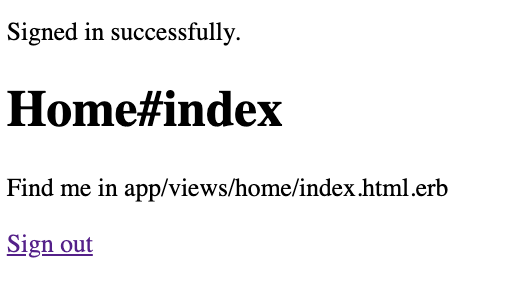
次はdeviseのviewを作成するためターミナルで以下のコードを実行
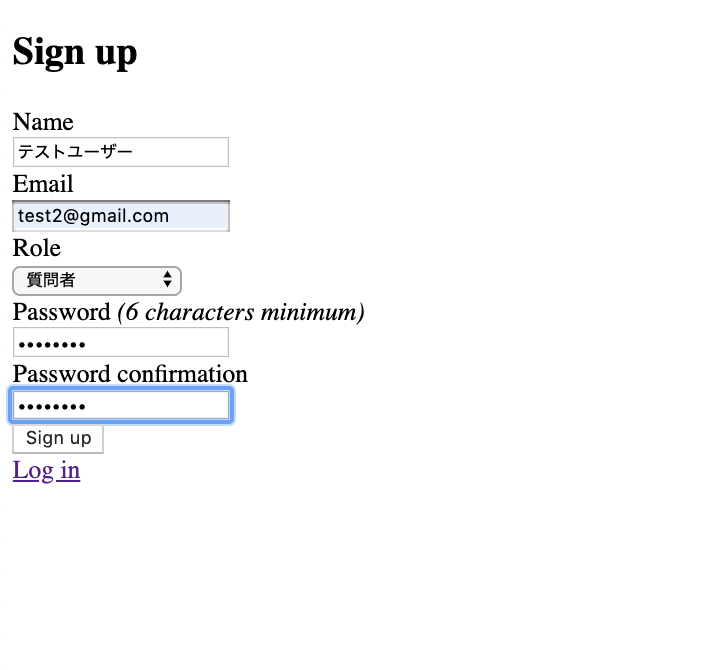
$ rails g devise:views実行が完了したら、views/devise/registrations/new.html.erbを修正します
<h2>Sign up</h2>

<%= form_for(resource, as: resource_name, url: registration_path(resource_name)) do |f| %>
  <%= render "devise/shared/error_messages", resource: resource %>

  <div class="field">
    <%= f.label :name %><br/>
    <%= f.text_field :name, autofocus: true %>
  </div>

  <div class="field">
    <%= f.label :email %><br/>
    <%= f.email_field :email, autofocus: true, autocomplete: "email" %>
  </div>

  <div class="field">
    <%= f.label :role %><br/>
    <%= f.select :role, [["質問者", "質問者"], ["回答者", "回答者"]], :prompt => "選択してください" %>

  </div>

  <div class="field">
    <%= f.label :password %>
    <% if @minimum_password_length %>
      <em>(<%= @minimum_password_length %> characters minimum)</em>
    <% end %><br/>
    <%= f.password_field :password, autocomplete: "new-password" %>
  </div>

  <div class="field">
    <%= f.label :password_confirmation %><br/>
    <%= f.password_field :password_confirmation, autocomplete: "new-password" %>
  </div>

  <div class="actions">
    <%= f.submit "Sign up" %>
  </div>
<% end %>

<%= render "devise/shared/links" %>
その後追加したnameとroleをデータベースに保存することができるように
controllers/users/registrations_controller.rbをこのように修正します
# frozen_string_literal: true

class Users::RegistrationsController < Devise::RegistrationsController
  before_action :configure_sign_up_params, only: [:create]
  # before_action :configure_account_update_params, only: [:update]

  # GET /resource/sign_up
  # def new
  #   super
  # end

  # POST /resource
  def create
    super
  end

  # GET /resource/edit
  # def edit
  #   super
  # end

  # PUT /resource
  # def update
  #   super
  # end

  # DELETE /resource
  # def destroy
  #   super
  # end

  # GET /resource/cancel
  # Forces the session data which is usually expired after sign
  # in to be expired now. This is useful if the user wants to
  # cancel oauth signing in/up in the middle of the process,
  # removing all OAuth session data.
  # def cancel
  #   super
  # end

  protected

  # If you have extra params to permit, append them to the sanitizer.
  def configure_sign_up_params
    devise_parameter_sanitizer.permit(:sign_up, keys: [:name, :role])
  end

  # If you have extra params to permit, append them to the sanitizer.
  # def configure_account_update_params
  #   devise_parameter_sanitizer.permit(:account_update, keys: [:attribute])
  # end

  # The path used after sign up.
  # def after_sign_up_path_for(resource)
  #   super(resource)
  # end

  # The path used after sign up for inactive accounts.
  # def after_inactive_sign_up_path_for(resource)
  #   super(resource)
  # end
end
最後にroute.rbをこのように修正します
Rails.application.routes.draw do
  root 'home#index'
  get 'home/index'
  devise_for :users, controllers: {
      registrations: 'users/registrations',
      sessions: 'users/sessions'
  }
end
それではテストしてみたいと思います
まずはこの情報でユーザーを登録します
登録が完了したら、ターミナルで確認します
$ rails c
irb(main):001:0> User.all
  User Load (1.6ms)  SELECT  "users".* FROM "users" LIMIT ?  [["LIMIT", 11]]
=> #<ActiveRecord::Relation [
#<User id: 1, name: "", email: "test@gmail.com", role: "", created_at: "2019-07-13 10:49:16", updated_at: "2019-07-13 10:49:16">,
#<User id: 2, name: "テストユーザー", email: "test2@gmail.com", role: "質問者", created_at: "2019-07-13 10:49:53", updated_at: "2019-07-13 10:49:53">]>
先程作成した「テストユーザー」のデータにはnameとroleがしっかりと保存されています!
これでユーザーログインの土台は整いました
Question modelとAnswer modelの関係性について
これから作成するのはQuestion(質問)とAnswer(回答と回答に対しての返事)も
2つのモデルです
これらのモデルは以下の図のようなイメージの関係性があります
Userは複数のQuestion(質問)を持つことができ、
Question(質問)は複数のAnswer(回答)を持つことができる、
という設計です

Question modelの作成
ターミナルでこちらを実行
$ rails g scaffold Question user:references title:string body:stringその後データベース情報を反映させるためにターミナルで下記を実行
$ rails db:migrateUser modelとQuestion modelにリレーションを与える
user.rbをこのように修正
class User < ApplicationRecord
  # Include default devise modules. Others available are:
  # :confirmable, :lockable, :timeoutable, :trackable and :omniauthable
  devise :database_authenticatable, :registerable,
         :recoverable, :rememberable, :validatable
  has_many :questions, dependent: :destroy
end
question.rbをこのように修正
class Question < ApplicationRecord
  belongs_to :user
end
コントローラーの修正
User modelに関連するmodelのインスタンスを作成する場合は
buildメソッドを利用します
Questionコントローラーを
createアクションのみ変更し、このようなコードにしてください
class QuestionsController < ApplicationController
  before_action :set_question, only: [:show, :edit, :update, :destroy]

  def index
    @questions = Question.all
  end

  def show
  end

  def new
    @question = Question.new
  end

  def edit
  end

  # create のみ修正
  def create
    @question = current_user.questions.build(question_params)
    respond_to do |format|
      if @question.save
        format.html {redirect_to @question, notice: 'Question was successfully created.'}
        format.json {render :show, status: :created, location: @question}
      else
        format.html {render :new}
        format.json {render json: @question.errors, status: :unprocessable_entity}
      end
    end
  end

  def update
    respond_to do |format|
      if @question.update(question_params)
        format.html {redirect_to @question, notice: 'Question was successfully updated.'}
        format.json {render :show, status: :ok, location: @question}
      else
        format.html {render :edit}
        format.json {render json: @question.errors, status: :unprocessable_entity}
      end
    end
  end

  def destroy
    @question.destroy
    respond_to do |format|
      format.html {redirect_to questions_url, notice: 'Question was successfully destroyed.'}
      format.json {head :no_content}
    end
  end

  private

  def set_question
    @question = Question.find(params[:id])
  end

  def question_params
    params.require(:question).permit(:user_id, :title, :body)
  end
end
次はviews/questions/_form.html.erbをこのように修正します
<%= form_with(model: question, local: true) do |form| %>
  <% if question.errors.any? %>
    <div id="error_explanation">
      <h2><%= pluralize(question.errors.count, "error") %> prohibited this question from being saved:</h2>

      <ul>
      <% question.errors.full_messages.each do |message| %>
        <li><%= message %></li>
      <% end %>
      </ul>
    </div>
  <% end %>


  <!--user_idに関する部分を削除-->


  <div class="field">
    <%= form.label :title %>
    <%= form.text_field :title %>
  </div>

  <div class="field">
    <%= form.label :body %>
    <%= form.text_area :body %>
  </div>

  <div class="actions">
    <%= form.submit %>
  </div>
<% end %>
次はHome controllerを修正します
@questionsから現在ログインしているユーザーの質問を見ることができるようになります
class HomeController < ApplicationController
  before_action :authenticate_user!

  def index
    @questions = current_user.questions.all
  end
end
次はHome controllerのindexで表示されるviews/home/index.html.erbを
以下のように修正します
<h1>Home#index</h1>
<p>Find me in app/views/home/index.html.erb</p>
<%if user_signed_in? %>
  <%= link_to "Sign out", destroy_user_session_path, :method => :delete%>
<%end%>

<h2>Questions</h2>
<p class="text-right"><%= link_to 'New Article', new_question_path %></P>
<table class="table">
  <thead>
  <tr>
    <th>Number</th>
    <th>Title</th>
    <th colspan="3"></th>
  </tr>
  </thead>

  <tbody>
  <% @questions.each do |question| %>
    <tr>
      <td><%= question.id %></td>
      <td><%= question.title %></td>
      <td><%= link_to 'Show', question %></td>
      <td><%= link_to 'Edit', edit_question_path(question) %></td>
      <td><%= link_to 'Destroy', question, method: :delete, data: { confirm: 'Are you sure?' } %></td>
    </tr>
  <% end %>
  </tbody>
</table>
それでは動作確認を行います
http://localhost:3000にアクセス
「New Question」をクリックしてQuestionを作成します

「create Question」をクリックして保存します
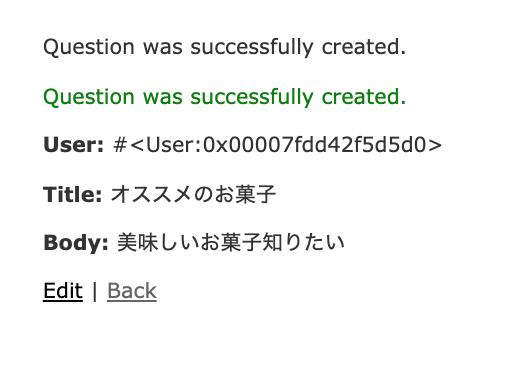
Backを押すとquestionの一覧に遷移し、Home controllerに戻れないので
シンプルにするためにHome controllerのindexをquestionと合体させます
その後Home controllerを削除します
class QuestionsController < ApplicationController
  # ここを追加
  before_action :authenticate_user!
  before_action :set_question, only: [:show, :edit, :update, :destroy]

  def index
    # ここを追加
    @questions = current_user.questions.all
  end

  def show
  end

  def new
    @question = Question.new
  end

  def edit
  end

  # create のみ修正
  def create
    @question = current_user.questions.build(question_params)
    respond_to do |format|
      if @question.save
        format.html {redirect_to @question, notice: 'Question was successfully created.'}
        format.json {render :show, status: :created, location: @question}
      else
        format.html {render :new}
        format.json {render json: @question.errors, status: :unprocessable_entity}
      end
    end
  end

  def update
    respond_to do |format|
      if @question.update(question_params)
        format.html {redirect_to @question, notice: 'Question was successfully updated.'}
        format.json {render :show, status: :ok, location: @question}
      else
        format.html {render :edit}
        format.json {render json: @question.errors, status: :unprocessable_entity}
      end
    end
  end

  def destroy
    @question.destroy
    respond_to do |format|
      format.html {redirect_to questions_url, notice: 'Question was successfully destroyed.'}
      format.json {head :no_content}
    end
  end

  private

  def set_question
    @question = Question.find(params[:id])
  end

  def question_params
    params.require(:question).permit(:user_id, :title, :body)
  end
end
htmlを修正するために
views/questions/index.html.erbをこのように修正
<p id="notice"><%= notice %></p>

<h1>Questions</h1>

<table>
  <thead>
    <tr>
      <th>User</th>
      <th>Title</th>
      <th>Body</th>
      <th colspan="3"></th>
    </tr>
  </thead>

  <tbody>
    <% @questions.each do |question| %>
      <tr>
        <td><%= question.user %></td>
        <td><%= question.title %></td>
        <td><%= question.body %></td>
        <td><%= link_to 'Show', question %></td>
        <td><%= link_to 'Edit', edit_question_path(question) %></td>
        <td><%= link_to 'Destroy', question, method: :delete, data: { confirm: 'Are you sure?' } %></td>
      </tr>
    <% end %>
  </tbody>
</table>

<br>

<%if user_signed_in? %>
  <%= link_to "Sign out", destroy_user_session_path, :method => :delete%>
<%end%>
<br>
<%= link_to 'New Question', new_question_path %>
route.rbのrootを変更
Rails.application.routes.draw do
  root 'questions#index'
  resources :questions
  devise_for :users, controllers: {
      registrations: 'users/registrations',
      sessions: 'users/sessions'
  }
  resources :questions
end
結果をhttp://localhost:3000で確認
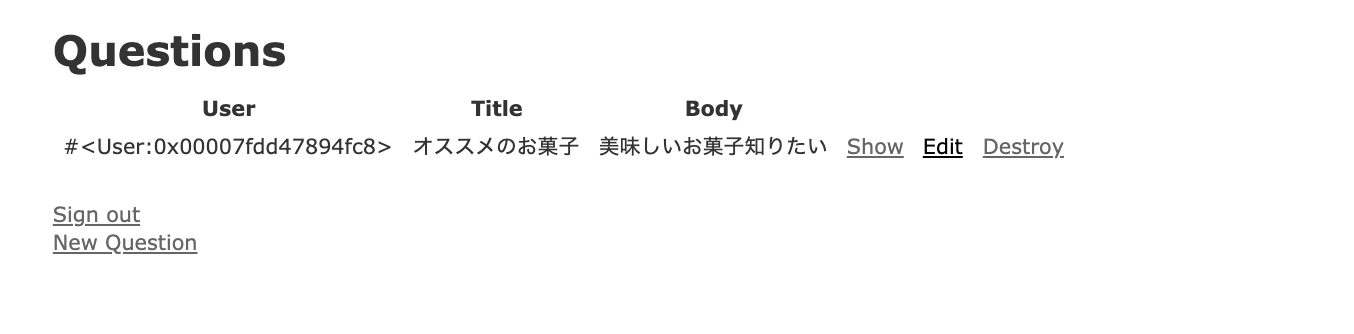
無事にrootアクセスでquestionを表示できました!
Home controllerはもう必要ないので削除するためにターミナルでこちらを実行
$ rails destroy controller homeまとめ
ひとまずUserとQuestionのベースは作成できたので、
次はUIを少し整えていきます!
参考記事
gem”devise”を使ってお手軽にログイン画面を実装する!【Rails】
初めてのdevise ② — カラムを追加してみる — ~ やってみようカスマイズ! ~
devise にusername カラムを追加し、usernameを登録できるようにする。
【Rails】フォームタグをform_forでやるときのセレクトボックスの作り方
Terry Lee へ返信する コメントをキャンセル